
VIP member
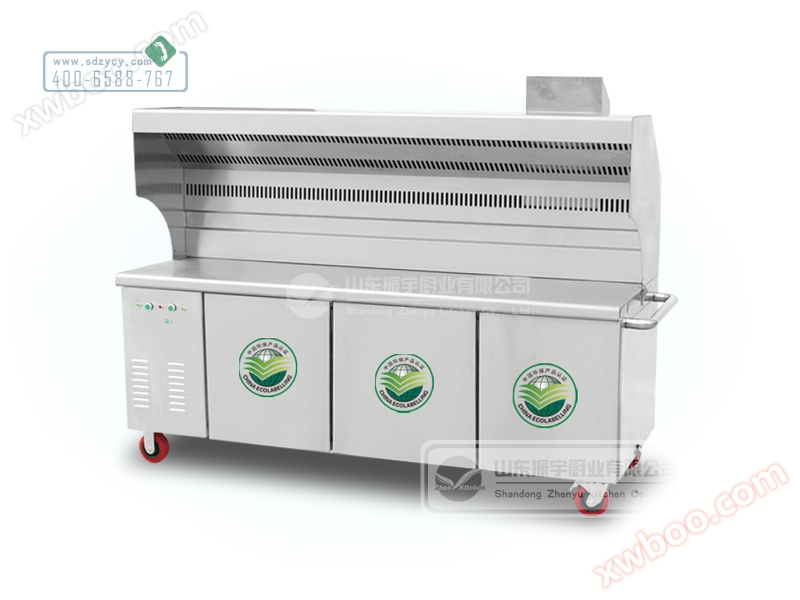
Smoke free purification barbecue truck
Detailed introduction: Model: ZY-WYSKC-1; Specifications and dimensions: 780 × 1500 × 2000mm; Precautions for installation and use of smoke-free purif
Product details
Detailed introduction:
Model: ZY-WYSKC-1; Specification size: 780 × 1500 × 2000mm;
Precautions for Installation and Use of Smoke free Purification Barbecue Stove
The installation location of the purifier must be elevated with a foundation and fixed with expansion bolts in low-lying areas, and there must be sufficient maintenance space nearby.
A low air volume purifier cannot handle high air volume exhaust gas and must be configured and installed based on actual air volume.
The purifier must not bear heavy objects up and down, otherwise the purifier will deform and cause malfunctions. Pipes and other components can be supported by support brackets.
Open the clean pipe during maintenance to remove internal oil stains.
The oil stains inside the purifier need to be cleaned by oneself, every 25 days to about a month.
Please power on the equipment for a period of time before installation to check if the electrodes of the machine will shift during transportation or handling.
Cleaning steps of purifier
1 Turn off the power, open the power box, pull down the leakage protector, let it sit for about half an hour to dissipate the remaining electricity before proceeding. The next step is to prepare a basin that can accommodate the purifier during this period;
2. Open the purification box and remember the placement direction and high and low voltage wiring positions of the purifiers on both sides (take photos directly with your phone to record);
3. Unscrew the nut that fixes the terminal block (usually a fixed screw is also installed at the corner of the purifier), place it in place, and then remove the wire inserted in the nut. Gently and slowly pull out the purifier with both hands (it is relatively long and the purification sheet is sharp, please be careful when removing it). Place the removed purifier into a prepared basin, soak it in hot water and caustic soda (sodium hydroxide) in a ratio of 5:1, soak for about 10 minutes, then take out the purifier and rinse it with water, air dry it, and install it according to the position, direction, and wiring recorded in the previous photo;
4. Ensure that the ground wire is grounded( Must ensure direct contact with the ground )Connect the power supply, turn on the leakage protector, and it can be used.
Online inquiry
-
Contacts
-
Company
-
Telephone
-
Email
-
WeChat
-
Verification Code
-
Message Content
-